
Hey lovelies! Today, I'm gonna show you how I designed my nails.


Before I get started, I just want to share that my mother is the owner of Lawncrest Nails in Philadelphia. Our Instagram is @_lawncrestnails if you want to follow our page!
Okay, first off I only polished and designed my nails. It is very hard to do acrylic because I am not ambidextrous. I envy though who can though! I also only use gel polishes on my nails.
I wanted to test out a couple different things on my nails so this was the end result! I hope you all like it.

1. Apply nail polish primer on your nails.
This step is crucial because the nail polish will shrink if there is not a base or primer applied on first.
2. Cure for 15 seconds.
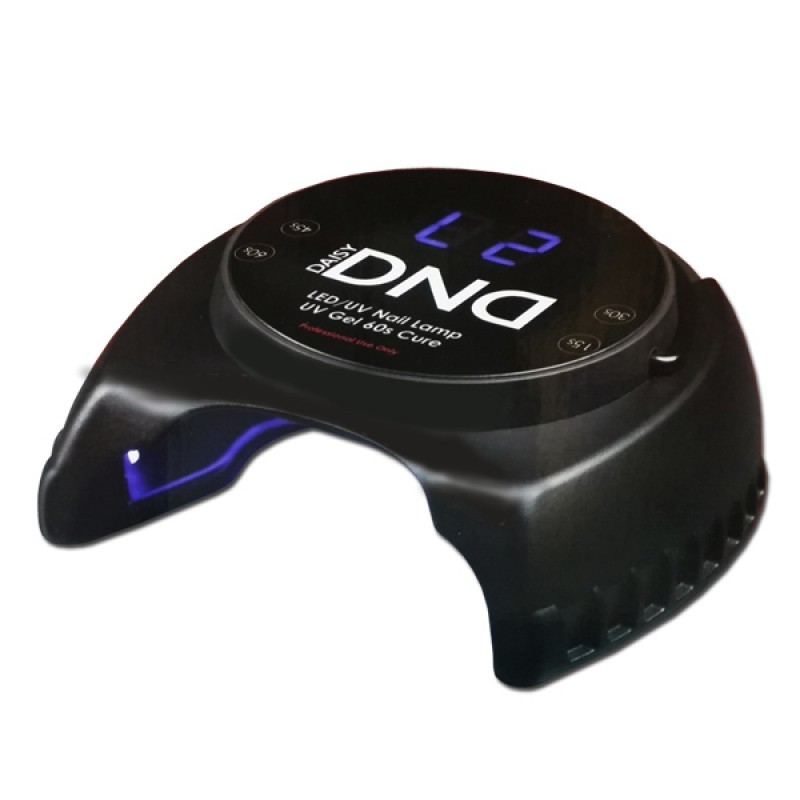 |
| I didn't post mine because it was really dirty. Photo Credit: Affton Nail Supply |
3. Polish your nails.
I polished the white nails using Color Club's gel white polish in "French Tip." This polish is life. I love it!

Next, I polished the glitters using LeChat Nails' Perfect Match gel in "Hologram Diamond." This is a very popular glitter polish and I fell in love with it as well.

Then, I polished the pink nails using Color Club's gel pink polish in "Kapow!" (Hahaha, I think that's a really funny name for a nail polish, but it does seem to have that effect.)
 |
| Don't mind the 7, haha. |
4. Cure for 60 seconds.
Sometimes, the polish may shrink if you wait too long to cure it. However, do not fret! After polishing two or three fingers, you can cure it for 60 seconds and then continue on :)
5. Apply the second layer of nail polish on all.
6. Cure for 60 seconds.
7. Apply Gel Top Coat Chrome on the white and pink fingers.
8. Cure for 15 seconds.
This step is crucial!!!! I can't stress this enough. If it is any longer than 15 seconds (in my opinion) it will not work. After 15 seconds, take your nails out.
9. Apply the chrome powder onto your nails.
You can use a sponge or makeup wedge to apply the chrome powder. That's exactly what I did. I dipped my makeup wedge into the chrome powder and applied it onto my nails. I don't remember the chrome powder that I used for the white ones but it was definitely from the brand "Aora." For the pink nails, I used this chrome powder. This is most likely from the brand Aora too!

10. Cure for 60 seconds.
I like to make sure that the chrome powder would stay onto my nails so I cure it. I feel like if I cure it, it'll be like a "good luck charm" or something, haha.
11. Design the marble art!
I actually learned this technique from Tracy Nailz from Youtube! I'm gonna link the video that I learned it from right here. So, I did exactly what she did. In short, I applied black lines on the nail. Then, I dipped my brush in acetone and lightly tapped and swirled the lines to give it that marble effect.
 |
| A closer view of my marble art! :) |
13. Apply the jewels!
I used nail glue to apply the diamond onto my nail :)
14. Top everything off with Gel Top Coat.
15. Cure for 60 seconds.
16. Wipe off the excess.
Wipe off the excess with cotton and alcohol. Voila, you're done!
I hope you enjoyed reading this mini tutorial. I will post more pictures below of my nails.


 |
| This was my right hand! I think it looks great for a first try. |

I'm pleased with how they turned out. Let me know if you have any questions or concerns and I'll be happy to help you.
If you would like to follow me on social media, click on any of the links below. ♡
Like my Facebook page! ♡
Follow me on Twitter! ♡
Follow me on Instagram! ♡
Follow me on Pinterest! ♡
xx lovelies.


No comments:
Post a Comment